
This article assumes that you have already gone through Part I of setting up the Instrument Cluster.
This is Part II in the series “Car Hacking 101: Practical Guide to Exploiting CAN-Bus using Instrument Cluster Simulator”. In part I, we discussed, what is CAN Bus, enough information for you to get started with CAN Traffic and how to set up a virtual lab for Car Hacking using ICSim.
In this part, we will dive deep into sniffing, replaying and attacking CAN Traffic.
How does a CAN message look like?
This is how exactly your CAN messages look like when they are captured via can-utils. If I break down the columns, the first one is the interface, the second one is the arbitration ID, third is the size of the CAN message, this can’t be more then 8. If you look at the CAN frame, you will understand better why this can not be more than 8. The fourth is the CAN data itself.
Making sense of CAN message

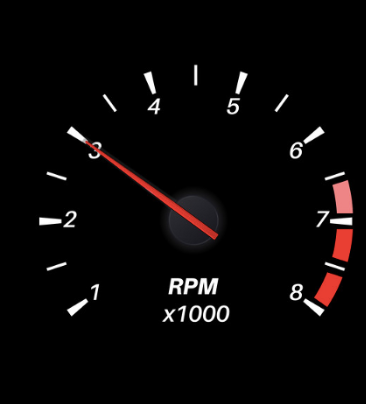
In this example, this is an 8-byte frame. The message is being sent by an arbitration ID 0x111. Once the instrument cluster sees this message, this will first make sure, if it was intended for instrument cluster or not. If it is, then it reads the message which has 0x0BB8, which translated to 3000 in decimals. Now your instrument cluster moves the needle in the tachometer to 3000.
Once you have the understanding of how CAN message makes sense, we can further inject fake/modified packets via ODB-II on the CAN bus to spoof tachometer or anything else.
Before we run into the demo of ICSim, let’s look at how other mini utilities of can-utils work. To do this, let’s first set up the virtual can interface.
Setting up the virtual CAN interface
sudo modprobe can
This will load the kernel module for CAN. Also, we need to load the kernel module for virtual can as well.
sudo modprobe vcan
If you wish to verify if the required kernel modules are loaded or not, you can use
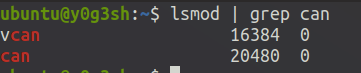
lsmod | grep can
This will display if CAN and VCAN have been loaded or not.
Let’s now set up the virtual interface
sudo ip link add dev vcan0 type vcan
sudo ip link set up vcan0
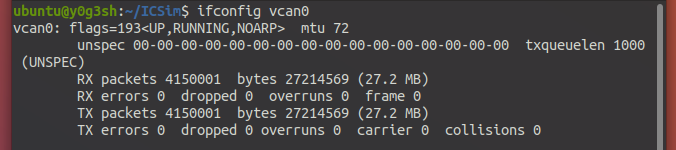
You can verify if virtual CAN interface is set up or not using
ifconfig vcan0
Once the virtual CAN interface is set up, you are now ready to send/receive the CAN packet in this interface. Let’s now use one of the mini utilities from can-utils called cangen to generate the dummy CAN packets.
cangen
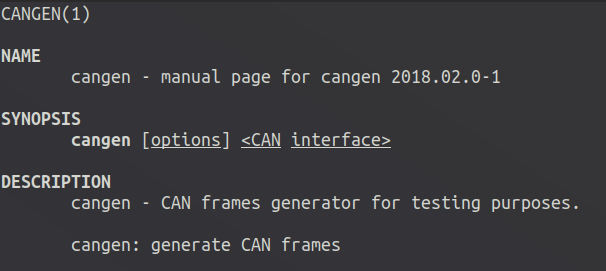
cangen generates the CAN frames for testing purposes. To use cangen, you need to specify the interface in which the CAN frame is to be generated.
cangen vcan0
vcan0 is the virtual CAN interface we recently created.
Since you have already generated CAN frames, there must be a way to look into the frames! There are many utilities available, one among many available is Wireshark. Launch the Wireshark after generating the CAN frames.
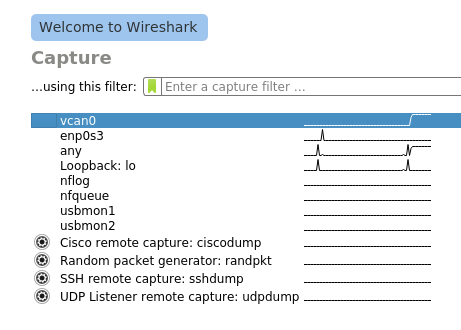
You may see many interfaces available depending on how many interfaces are up, vcan0 is the interface where your CAN frames are being generated.
Once you click on the interface you wish to look the packets into, this is how the CAN frame looks like.
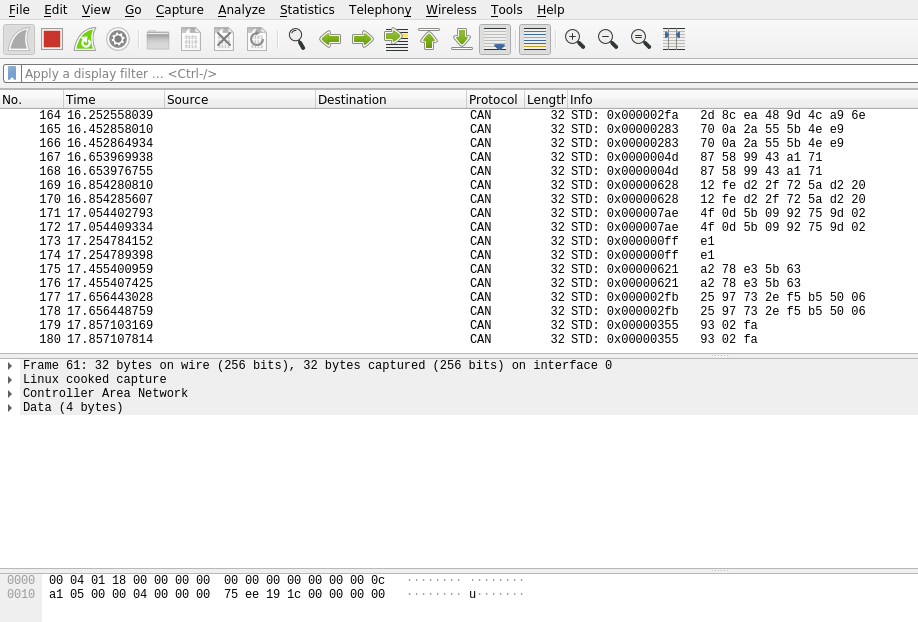
More detailed information about the CAN frame can also be viewed.

Also, there are other utilities inside vcan0 like cansniffer and candump which does more or less the same stuff Wireshark does. You can use any tools or utility, whichever you feel more comfortable with.
candump
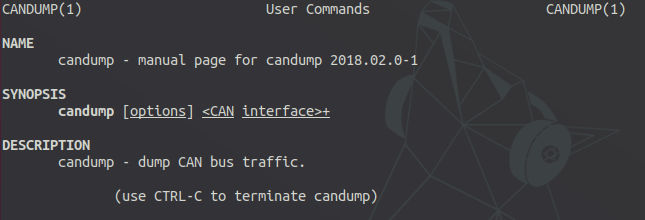
To dump or log the frames using candump, you can use
candump vcan0
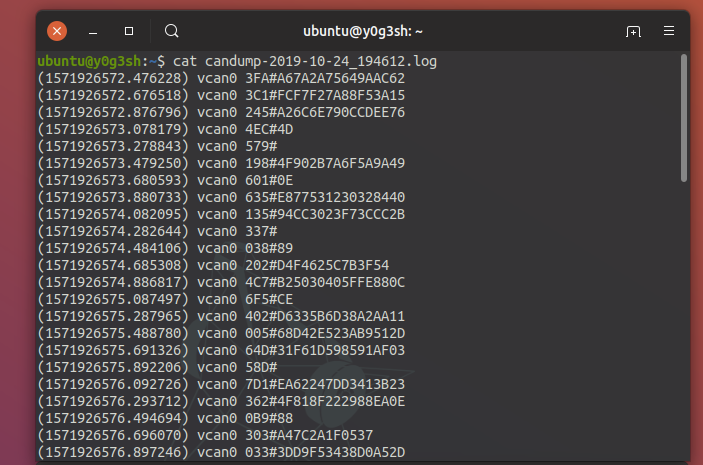
This will be the output from the candump.
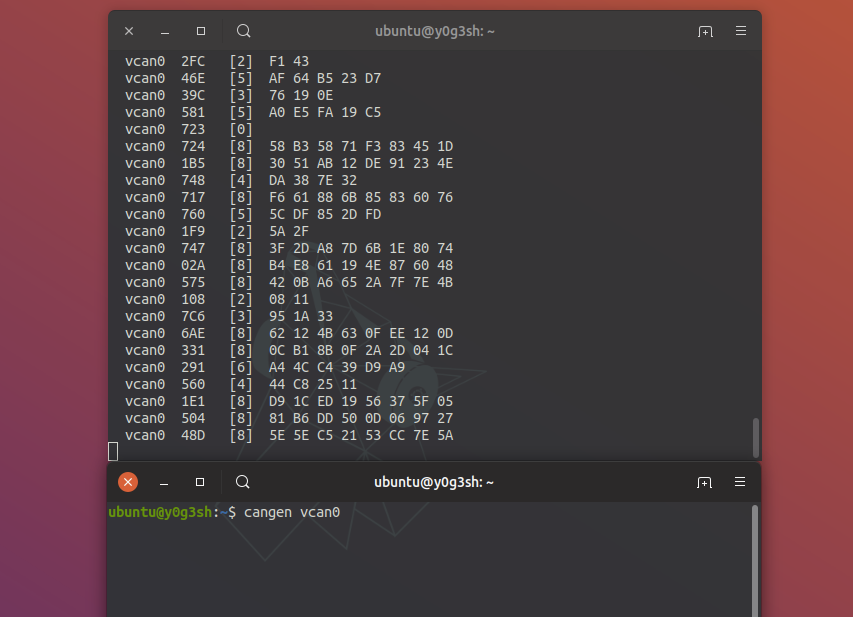
In one of the terminals, the lower one is generating the CAN packets, whereas the terminal on the top is running candump. If I have to break down the columns for you, the first one you see is the CAN interface. The second is the arbitration ID, the third one is the size of CAN message, and the fourth is the message itself.
candump can also log the can frame for you. If you wish to perform a replay attack, you can first log the frames and then use mini utility like canplayer to replay the frames. Logging of CAN frames can be enabled using -l flag.
candump -l vcan0
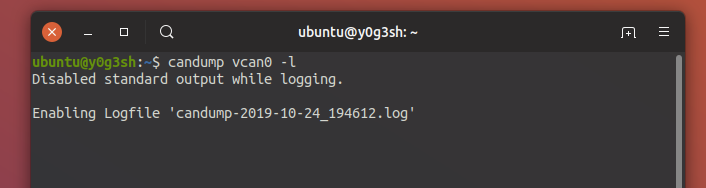
When you log the CAN frames, a file will be created prefixed by candump followed by the date.
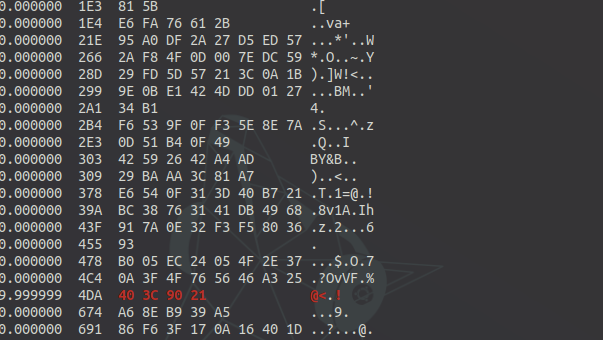
If you wish to see the contents of the dump file, you can always use cat command in Linux to see the contents.
The frames we captured using candump can be replayed using a utility like canplayer.
canplayer
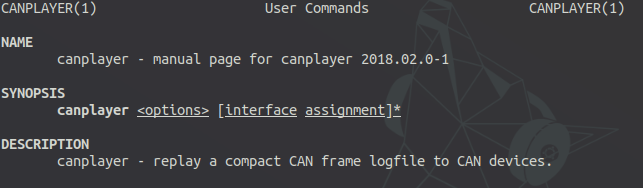
As the name suggests, the canplayer will replay the can frames. Ideally, this is useful when you have to do the replay attack. You would first dump/log the CAN frames and then playback the CAN frame using the canplayer.
Imagine a scenario where you wish to spoof the tachometer, and you have no idea on which arbitration ID the tachometer reading works, you have no idea what’s in the CAN message. So ideally you would first dump and log the frames using candump with -l flag, and then use can player to replay the frames that were logged.
canplayer requires -I option to accept the input file.
canplayer -I canfile.log
canplayer has several other really useful options, you can find out them using man canplayer.
cansniffer
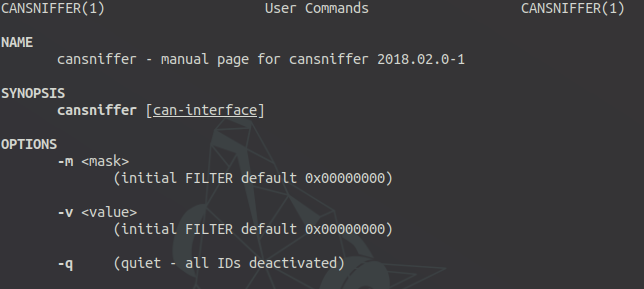
CAN sniffer is used to see the change in CAN traffic. This is very useful to see a change in a particular byte. cansniffer has an option -c very useful for seeing the byte change in a colorful way. What this does is, it will compare the earlier byte and the current byte, if there’s a difference then it is indicated by the change in the color of the byte. This is very useful when you wish to know if there was a change when you had performed a certain operations in a car.
cansniffer -c vcan0
I find cansniffer very helpful because the cansniffer allows filter by IDs as well. So if you wish to see the frames only from a particular ID, say 0x011, you can do that as well.
This can be done once you start sniffing, press — and then 000000. This will first clear all the frames. Now, you can start adding the IDs using + and then the ID you want to display and hit Enter. This way you can filter the frames of individual IDs.
cansend

cansend is used to send the CAN frames to a specific CAN interface. It’s usage is
cansend interface frame
We will use all of these utilities with ICSim.
Launching ICSim
Installation and Introduction to the ICSim are already discussed in the earlier post. Please follow this article to learn how to install ICSim.
Let’s launch the ICSim and sniff the CAN frames.
./icsim vcan0./controls vcan0
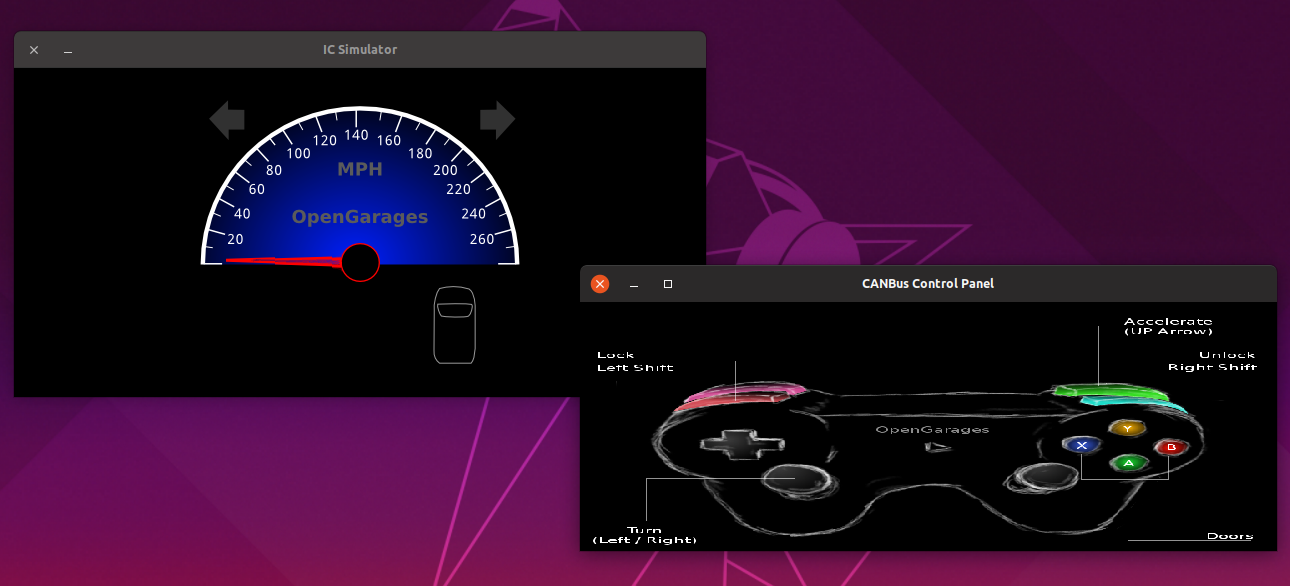
If you have followed every step discussed in the earlier post, you should be able to see this. Also, you can notice that the speedometer needle is moving back and forth, which is expected behavior because of the noise present.
Sniffing the CAN frames generated by ICSim
We will use cansniffer, a utility provided by can-utils, to sniff the packets. You can open up a new terminal and start cansniffer by
cansniffer -c vcan0
The -c option is used to indicate the change in bytes of the frame.
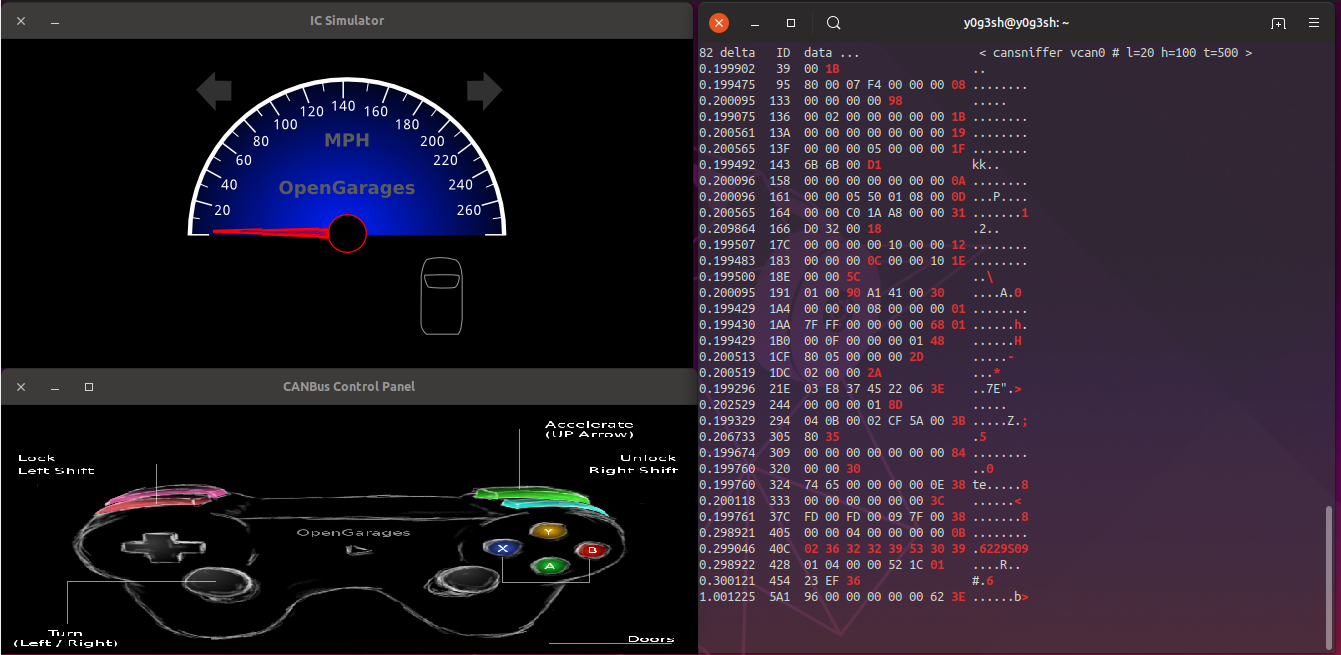
You can see very quick changes in the CAN frames, difficult to keep up with the rate at which communication is happening. In a real car, this communication would happen fast. To keep up with it, you can use arbitration ID filtering. If you only wish to see the frames from ID 40C, you can always press — and then 000000 followed by Enter key. This will clear all the IDs from cansniffer and you can then press + followed by ID to filter out and then press Enter key.
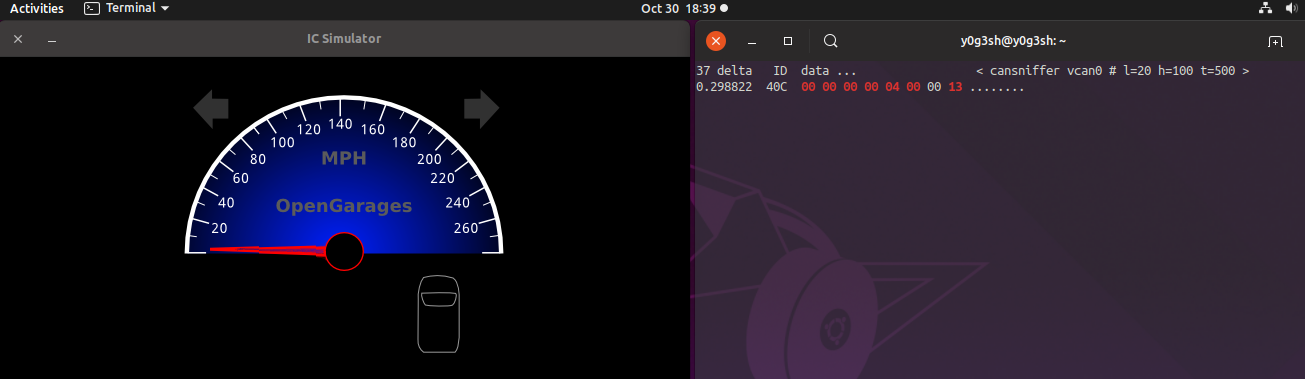
Here I have filtered the ID 40c only using the same steps mentioned above. You can try pressing the Up arrow key to increase the throttle and then notice how quickly CAN frames are being changed. The change is again indicated by the coloring. You can always play around with this and see how things are working under the hood.
Replay Attack
Making sense of this huge data is going to be a difficult task. Also, finding the arbitration ID in which you have to inject the frames is an impossible task to do from this big data.
So you would start sniffing the packets, then perform some action like turning on the turn signal indicators or pushing the throttle, once it is logged, then divide the packets into two halves, perform the replay attack on the first half and see if it works. If it doesn’t, move on to the other half. This other half chunk of frames must work. Again this other half is still going to be huge, go ahead and divide the frames into two halves again, repeat this until you are left out with a single frame.
Now to perform Replay attack with ICSim, you must have already started ICSim, you should be able to see the frames using cansniffer. Now we will use candump with -l option to log and save the frames, in the meanwhile we will increase the throttle, press <left> and <right> arrow keys to turn on the turn signal indicator.
candump -l vcan0
Now we will stop candump and you will see a file as candump-XXXXX.log being created.
Replaying the CAN frames
To replay those packets we will be using canplayer. Since we will be using a file as input for canplayer, we need -I option to be enabled.
canplayer -I candump-2019XXXXXX.log
You can see that a replay attack has been performed, the turn signals, speedometer should be working as you had done earlier.
Creative Packet Analysis
In a real car, CAN bus can be a lot noisier and CAN frames can appear a lot faster, so identifying the arbitration ID could be a difficult task. So to easily identify arbitration ID, you can follow this
Dividing the CAN frames and performing Replay
If you wanted to divide the CAN frames into two half and perform the replay on each of them, the best way to do is capture the CAN frames using candump and use wc utility to count the number of CAN frames, then use split to divide the log into two half equally.


Now, you can use the canplayer to replay these CAN frame independently.
Challenge for you!
Identify the arbitration ID for Throttle, Doors and turn signals!
[This image below has been put up intentionally so that you spend time finding the arbitration IDs 😆]At this point in time, I assume you have already found the arbitration ID for doors, tachometer and turn signals.
How about unlocking the door?
You would have noticed that in 0x19B, whenever you unlock/lock the doors, you must have seen the changes in CAN frames. How about unlocking them using cansend? (ICSim has 4 doors)
Playing around with RPM, Tachometer
Playing around with Turn Signals
Can I try this on a real car?
Yes, here is a short clip from GreHack, France 2019, I had conducted a workshop on a Car Hacking and CAN bus exploitation.
This one is from the Hyundai i10.
You can always try this on a real car. But! Use your common sense and be safe while doing in a real car!
Summary
By now, you must have learned how CAN bus works, how does a CAN frame looks like and of course using canutils you must have learned to sniff the CAN frames, send and fuzz the CAN frames.
Using ICSim is rather simple, on a real car, this could be slightly difficult for a few reasons:
- You may have difficulty locating an OBD-II port that gives you direct access to CAN Bus.
- CAN communication in a real car is very fast compared to the rate at which it happens in ICSim.
- In a real car, you may find a lot more arbitration identifiers than in an ICSim.
- CAN is not the only network present in a car. If you can’t find the message you are looking for, this probably is in a different network.
Further Reading
- Car Hacker’s Handbook — Must read
- More on can-utils & SocketCAN, SavvyCAN
- OpenGarages
- Charlie Miller & Chris Valasek researches
- Most importantly: https://github.com/P1kachu/awesome-vehicle-security
What’s Next?
I definitely plan to release a few more articles on this series, hopefully within the next few weeks, especially on SavvyCAN, one of my favorite tools for fuzzing on the CAN bus. I plan to write another article on doing this in a real car using Macchina M2 and SavvyCAN.
In the meantime, you can purchase Macchina M2 from here: https://macchina.cc/ or if you prefer USB2CAN get it from here: https://www.8devices.com/products/usb2can_korlan
Thank you 🙂